Guide
Roof Replacement Timeline (Day by Day)
Roof replacement step by step, from contractor selection through permit close. See how many days each stage takes and what can delay it. Talk to a roofer in our network.
By Local Roofing Help Editorial Team, Reviewed by a licensed roofing contractor · Last reviewed 2026-05-25
Talk to a local rooferBy Local Roofing Help Editorial Team, Reviewed by a licensed roofing contractorPublished
Quick answer: A typical asphalt-shingle roof replacement takes one to three days of on-roof work, inside a total project window of three to six weeks from signed contract to permit close. Material lead time, permit turnaround, and weather drive most of the variance. Larger or more complex roofs (steep pitch, tile, metal) take longer (NRCA Roofing Manual, IRC R905).
Total project duration
A roof replacement is two distinct timelines stacked together. The on-roof work is short: one to three days for a walkable asphalt roof on a typical two-story home, scaling up for steep pitch, complex geometry, multi-layer tear-off, tile, or metal. The total project window is longer: three to six weeks from the day you sign the contract to the day the building department closes the permit and the manufacturer warranty registers.
The stages below break the project into 14 procedural steps. The first three happen before any work starts. Steps 4 through 13 happen during the install days. Step 14 closes the project administratively, often a week or two after the crew leaves.
What can stretch the window: long permit turnaround in dense jurisdictions, specialty material lead time (tile, slate, custom-color metal can run multi-week), and weather delays that push the install date. What can compress it: an experienced contractor with strong supplier relationships and a jurisdiction that turns permits in 1 to 3 days.
Day -14: Contractor selection
The two weeks before the install belong to selection and paperwork.
Get two to three written estimates. The differences in price almost always trace to differences in scope, not labor rates. Compare line items including squares of roof area, slope factor and waste factor, tear-off layers and disposal, decking allowance and per-sheet replacement rate, underlayment type and weight, ice and water shield linear feet, drip edge and starter, ridge and valley spec, ventilation (intake/exhaust math), flashing (chimney, sidewall, step, counter), shingle brand and line, wind rating, impact class, and warranty tier (standard, system, or top-tier).
Verify license and general liability and workers compensation insurance through your state's contractor licensing portal before signing. License lookup is on the state contractor licensing board's website for every U.S. state that licenses roofers. Texas does not license roofers at the state level; verify through liability and workers compensation certificates and the TDI complaint database.
Read the contract carefully. Confirm in writing who pulls the permit, the payment schedule, the per-sheet decking replacement rate, the brand and product line of the shingle (not just the category), the warranty tier, and the start window.
Day -7: Permit pull
The contractor files the building permit with your local jurisdiction once the contract is signed. Turnaround runs 1 to 14 days depending on the city. Some jurisdictions require a structural review for steep pitch changes or material changes (asphalt to tile, for example). Some require an additional electrical permit for solar reroof work. Confirm in writing that the contractor pulls the permit, not the homeowner. A contractor who asks the homeowner to pull the permit is shifting liability for a code-compliant install onto the homeowner.
Permits are public record. You can look up the issued permit on your city's online portal once the contractor confirms it has been pulled.
Day -2: Material delivery
Shingles, underlayment, ice and water shield, drip edge, ridge cap, vents, and flashing arrive on a delivery truck. Many contractors use a rooftop hoist to stage bundles directly on the roof on the day before install. The driveway becomes a staging area for a day or two; cars may need to move.
Walk the property with the foreman before bundles land. Mark sprinkler heads, landscaping, outdoor lighting, and pool equipment. Confirm where the dumpster or debris trailer will sit. If you have an irrigation system, shut it off the night before; rolling bundles across a wet lawn does more damage than rolling them across a dry one.
Day 1 morning: Site protection
The crew covers AC condensers, satellite dishes, garden beds, decking, and pool surrounds with tarps and plywood. The foreman walks the homeowner through the protection plan and the magnetic-sweep schedule before any tear-off begins. Tarps catch most debris that comes off the roof; magnets catch most fallen nails after cleanup.
This is the right time to ask any final questions about the schedule, the deck-replacement procedure, and the punch-list walk at the end. Once tear-off starts, the noise level makes detailed conversation hard.
Day 1 morning to midday: Tear-off
Old shingles, felt, drip edge, and flashing come off down to the deck. Debris is forked into the trailer or dumpster as it falls. A two-person crew can tear off about 20 squares per day on a walkable pitch (one square equals 100 square feet of roof surface). A three to four person crew on a typical home gets through tear-off by midday.
Watch for the foreman to keep the deck covered if rain threatens. An exposed deck and a rainstorm is the single biggest avoidable failure mode in a roof replacement. Reputable contractors carry enough tarp inventory to cover the entire deck if the forecast turns.
Day 1 afternoon: Decking inspection
With the deck exposed, the crew probes for soft spots, rotted sheets, and loose nailing. Any sheet that needs replacement is recorded on a written change order at the per-sheet price the homeowner already agreed to in the contract. Replace decking on the spot. Do not leave the deck open overnight.
Common deck issues that need replacement: rot around penetrations (vents, pipes, chimneys), prior leak damage at valleys or sidewalls, delamination on aged OSB, and gaps wider than 1/8 inch between sheets that need re-nailing per IRC R905.2.6 fastener spacing rules.
A typical home replaces zero to four sheets. A roof with prior leak damage or an aging deck can replace 20 sheets or more. The disclosed per-sheet rate in the contract is what keeps this honest.
Day 2 morning: Ice and water shield plus underlayment
Self-adhered ice and water shield runs along eaves, valleys, sidewalls, and penetrations on every install. In cold climates (most northern jurisdictions per IRC R905.1.2), ice and water shield runs from the eave over the deck to a line that is at least 24 inches inside the exterior wall line (the warm-wall line) to block ice-dam backup. Confirm the local code on this with your contractor before the install.
Synthetic underlayment covers the rest of the field. Overlaps and fastener patterns match the manufacturer's printed install bulletin (typically 4-inch horizontal lap, 6-inch end lap, capped nails on 12-inch grid).
Day 2 midday: Drip edge and flashing
Drip edge installs over the underlayment along rakes and under the underlayment along eaves per IRC R905.2.8.5. This sequence is not optional; reversing it traps water at the eave.
Step flashing replaces at sidewalls. Each shingle course gets its own piece of step flashing tucked under the next course up, so water sheds over the shingle below and runs off the wall flashing system. Counter-flashing tucks into existing reglets at chimneys and parapet walls. Pre-existing flashing rarely gets reused; ask the contractor to confirm what flashing is new and what is reused before the install begins.
Day 2 to Day 3: Shingle install
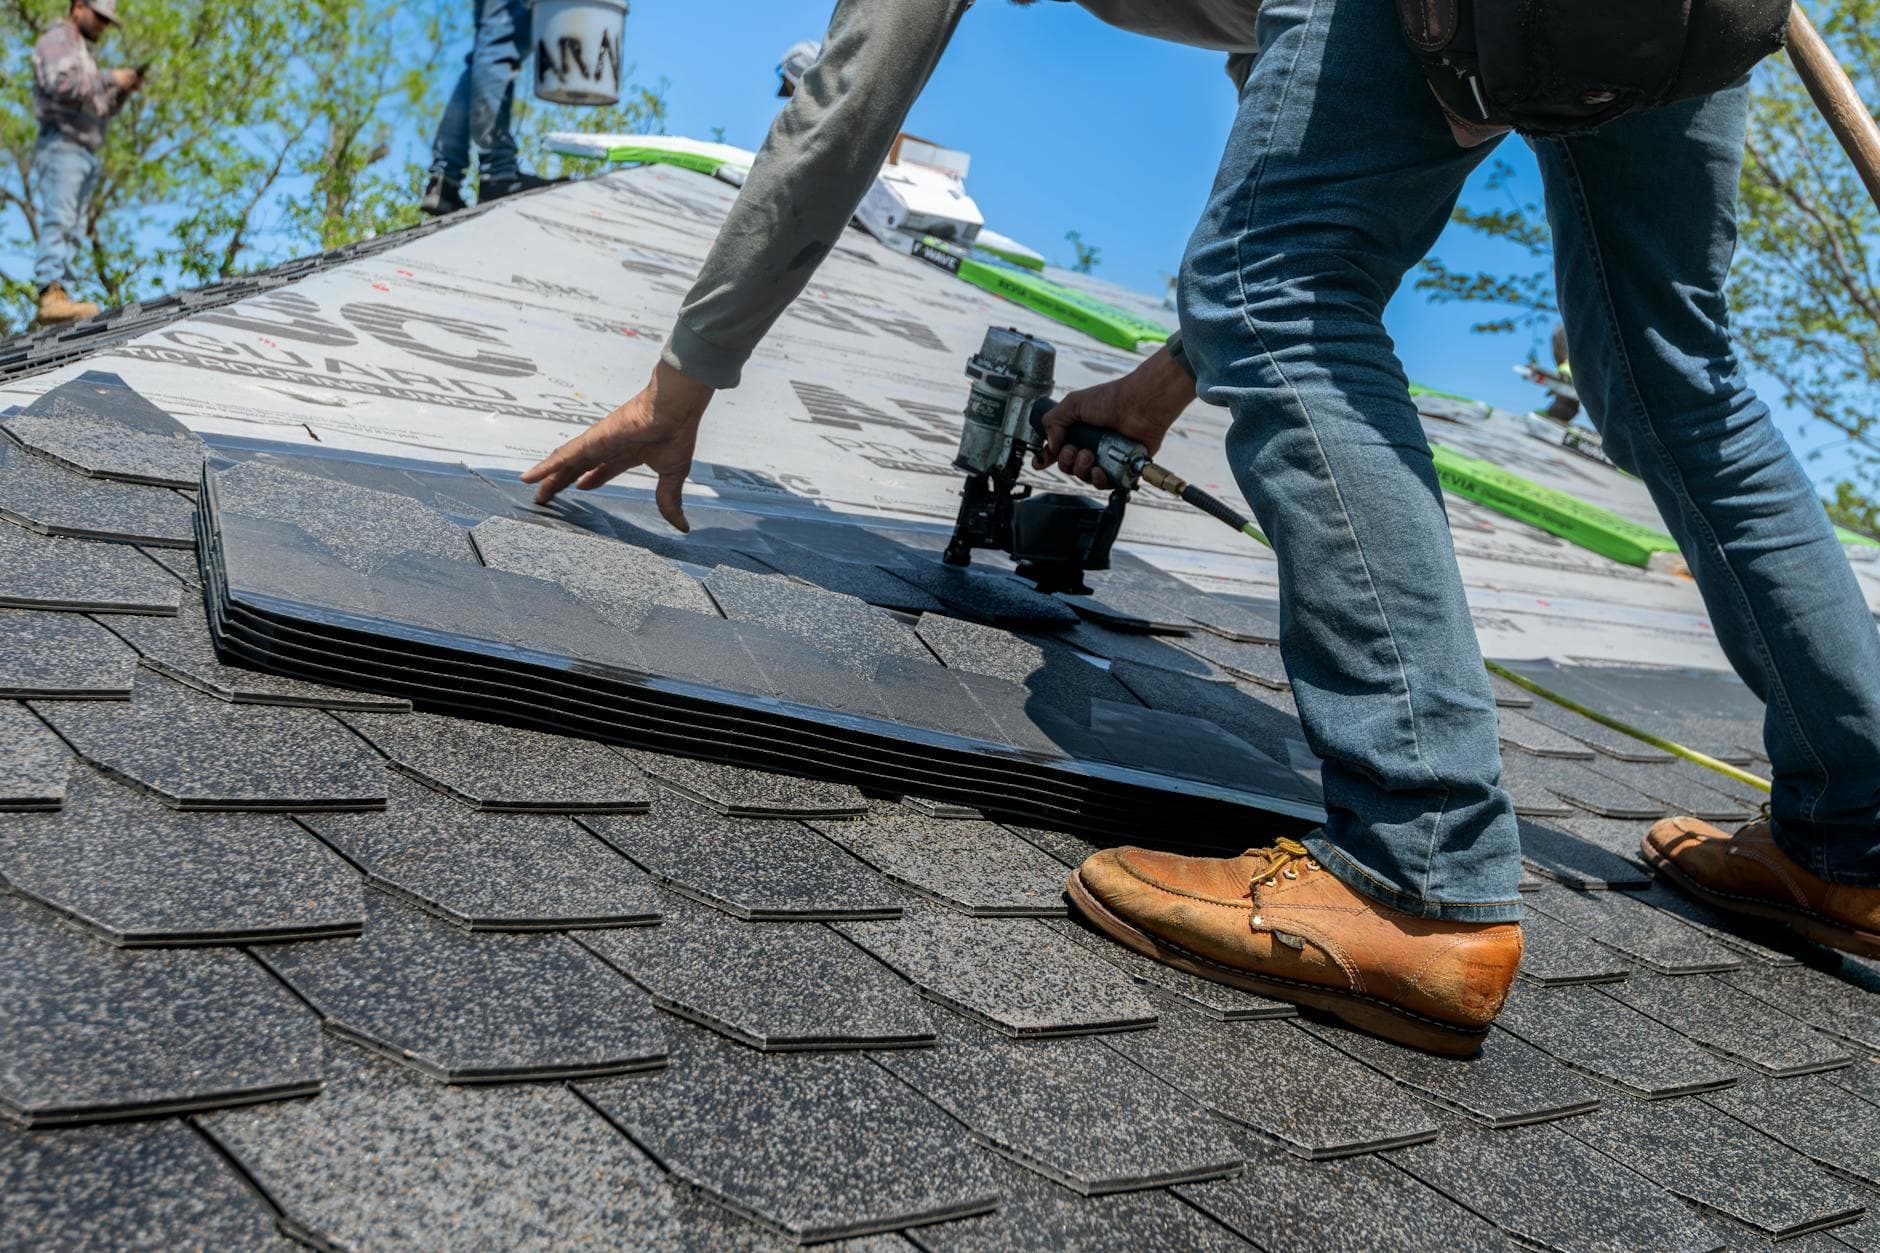
Starter strip along eaves and rakes. Field shingles up the slope in the manufacturer's stagger pattern (typically 6-inch offset). Six-nail install pattern in high-wind regions per IRC R905.2.5 and the shingle's wind rating per ASTM D7158 or ASTM D3161. Confirm the nail pattern in the contract before the install starts; four-nail and six-nail installs perform differently in wind and the shingle warranty often requires six-nail in coastal or hail-belt zones.
A two-person crew can install about 20 to 25 squares per day on a walkable pitch. A steep pitch (above 6:12) and dormer-heavy roofs slow the pace. Tile and metal installs run on different schedules entirely.
Day 3 morning: Ridge cap
Pre-bent ridge-and-hip cap shingles install last along ridges and hips with two fasteners each per the manufacturer's spec. The ridge cap finishes the wind-resistance system and locks in the field shingles below. Use ridge-cap shingles made for the specific shingle product, not cut field shingles. Field-shingle ridge caps void some manufacturer warranties.
If the roof has a ridge vent, the ridge cap installs over the vent with the manufacturer-specified fastener length. The ridge vent itself installs after the field shingles and before the ridge cap.
Day 3 midday: Penetration sealing
Pipe boots, vents, satellite mounts, and any chimney or skylight flashings get sealed with the manufacturer-approved sealant per their printed instructions. Replace pipe boots on every install; old neoprene boots are a leading source of post-install leaks because they outlast the original shingles by less than a decade.
If the install includes new ridge vent, box vent, or solar attic fan, the ventilation math should have been calculated during the estimate. The general rule per the Asphalt Roofing Manufacturers Association and most U.S. codes is 1 square foot of net free vent area per 300 square feet of attic floor (split roughly 50/50 between intake at the eaves and exhaust at the ridge).
Day 4: Final inspection
The foreman walks the roof with a checklist covering nailing pattern, exposure, flashing seal, vent install, ridge cap, and any deck replacements. Punch-list items are corrected on the spot. Final photos are taken for the manufacturer warranty registration and the homeowner's records.
Common punch-list items: lifted shingles at hip transitions, missing sealant on a pipe boot, exposed nails in the ridge cap, debris stuck in a gutter. None of these are emergencies; all of them get fixed before sign-off.
Day 4: Debris haul and magnet sweep
The crew loads remaining debris into the trailer or dumpster. A rolling magnetic sweep covers the driveway, lawn, gardens, and pool surround to collect nails and metal fragments. The magnet pickup is one of the most-asked-about steps; reputable contractors sweep at least twice (once after tear-off, once after final cleanup).
The homeowner walks the property with the foreman before sign-off. Confirm landscaping, AC condensers, satellite dishes, exterior lighting, and the driveway are intact. Document any damage in writing immediately, not days later.
Day 7 to 14: Permit close
The building department inspector visits to verify the install matches code and the issued permit. The inspector looks at the deck attachment (if visible), ice and water shield placement, flashing details where accessible from the ground or attic, ridge and ventilation, and the overall workmanship. Most inspections pass on the first visit. Failed inspections are usually procedural (missing the permit card, an unrelated open permit) rather than workmanship.
Once approved, the permit closes. The contractor registers the manufacturer warranty on the homeowner's behalf and provides the warranty certificate and final invoice. Keep both on file for the life of the roof. They are required for any future supplement claim, warranty claim, or home-sale disclosure.
Weather, season, and what can delay each stage
| Stage | Typical delay driver | | --- | --- | | Contractor selection | Holiday season or peak demand after a hail event | | Permit pull | Dense jurisdictions, structural review, or material change | | Material delivery | Specialty material lead time (tile, slate, custom metal) | | Tear-off and install | Rain or wind above install thresholds; cold below 40°F for self-sealing | | Final inspection | Building department backlog after major storms | | Permit close | Pending sub-permit (electrical, structural) on the same address |
Spring through early fall is the easiest install window in most climates. Cold-weather installs are possible with manufacturer-approved cold-weather adhesives and hand-sealed shingle tabs. Confirm cold-weather install procedures in writing if your project starts below 40°F; some shingle manufacturers explicitly require hand-sealing below a temperature threshold to preserve the wind warranty.
How long does it take to replace a roof?
A typical asphalt-shingle roof replacement takes one to three days of on-roof work for a walkable two-story home. The full project window from signed contract to closed permit runs three to six weeks. Tile, slate, steep-pitch, and complex-geometry roofs take longer.
The on-roof days are short. The longer stretches are permit turnaround (1 to 14 days), material lead time (multi-week for specialty materials like tile, slate, or custom-color metal), and weather windows for the install crew. The full 14-stage breakdown above maps each procedural step to its typical duration.
Do I need to be home for a roof inspection?
No. Most roof inspections happen on the exterior and do not require homeowner access to the interior of the home. The roofer needs ground or roof access plus a clear line of sight; a homeowner does not need to be present during the inspection itself.
Most inspections take 30 to 60 minutes and produce a written report afterward. Homeowner presence is helpful for two reasons: the roofer can answer questions in person at the end of the inspection, and any attic-side inspection (for sheathing condition or signs of leak penetration through the deck) typically needs interior access. If interior attic access is required, the inspector will say so during scheduling.
Related reading
Picking the right roofer and reading the estimate carefully is what makes a clean install possible. Three companion guides cover the prep work:
- Average cost of a new roof covers the six variables that drive your real price.
- Is it cheaper to repair or replace a roof helps you decide whether a replacement is the right call in the first place.
- How to tell if you need a new roof lays out the seven warning signs that warrant a professional inspection.
If your replacement starts with a denied or underpaid insurance claim, the Roof Insurance Claim Appeal Process walks through the appeal path step by step.
For decision tools, see the Replacement Cost Calculator and the Lifespan Estimator.
FAQ
How long does roof replacement take?
Most asphalt shingle replacements run one to three days of install work, inside a three to six week total project window from signed contract to permit close. Steep pitch, tile, metal, and complex geometry extend the install window.
What slows a roof replacement down?
Material lead time, permit office turnaround, weather windows, and decking surprises after tear-off. Specialty materials (tile, slate, certain metal profiles) can carry multi-week lead times. Permit turnaround runs from a single day to two weeks by jurisdiction.
Do I need to leave my house during roof replacement?
No. Most homeowners stay. Plan for noise from roughly 7am to 5pm during the install days. Pets are happier in a quiet interior room. Move cars off the driveway before the crew arrives.
What season is right for roof replacement?
Spring through early fall in most climates. Cold-weather installs are possible with manufacturer-approved cold-weather adhesives and hand-sealed shingle tabs. Confirm cold-weather install procedures in writing if your project starts below 40°F.
Who pulls the permit for a roof replacement?
The contractor pulls the permit in almost every jurisdiction. Confirm in writing in your contract that the contractor pulls the permit, schedules the inspection, and closes the permit with the building department after the install.
When does the manufacturer warranty start?
At install completion, registered by the contractor with the manufacturer (GAF, Owens Corning, CertainTeed, and others) within their published registration window. Keep the warranty certificate and the final invoice on file for resale and any future claim.
This guide was written by the Local Roofing Help Editorial Team and reviewed by a licensed roofing contractor. Last reviewed: 2026-05-25. Ready for quotes? Talk to a local roofer in our network by phone.
Need a local roofer?
Talk to a roofer who handles your scope. Pre-screen first, then we connect you by phone.
Under a minute. One local pro, not 12.
Lead-routing service. Calls may be recorded.